Ewaste to E-console: DIY External Console for Your Homelab
🖥️ Ewaste to E-console: DIY External Console for Your Homelab
Note: This page is currently a work in progress. Expect updates in the future. A [release] tag will be added when finalized.
🛠️ The Problem With Headless Servers
Modern-day servers, especially refurbished enterprise ones used by homelabbers, often lack an easy way to access them graphically. For example, my HP Proliant has an ILO, but there isn’t a good way to SSH into it without a monitor or a KVM console, which can be quite expensive. While cheaper options exist online, they’re still not budget-friendly.
So, what’s the solution? That’s exactly what I set out to find when I stumbled upon my dad’s old Optiplex 7460.
♻️ Turning Ewaste Into a Console
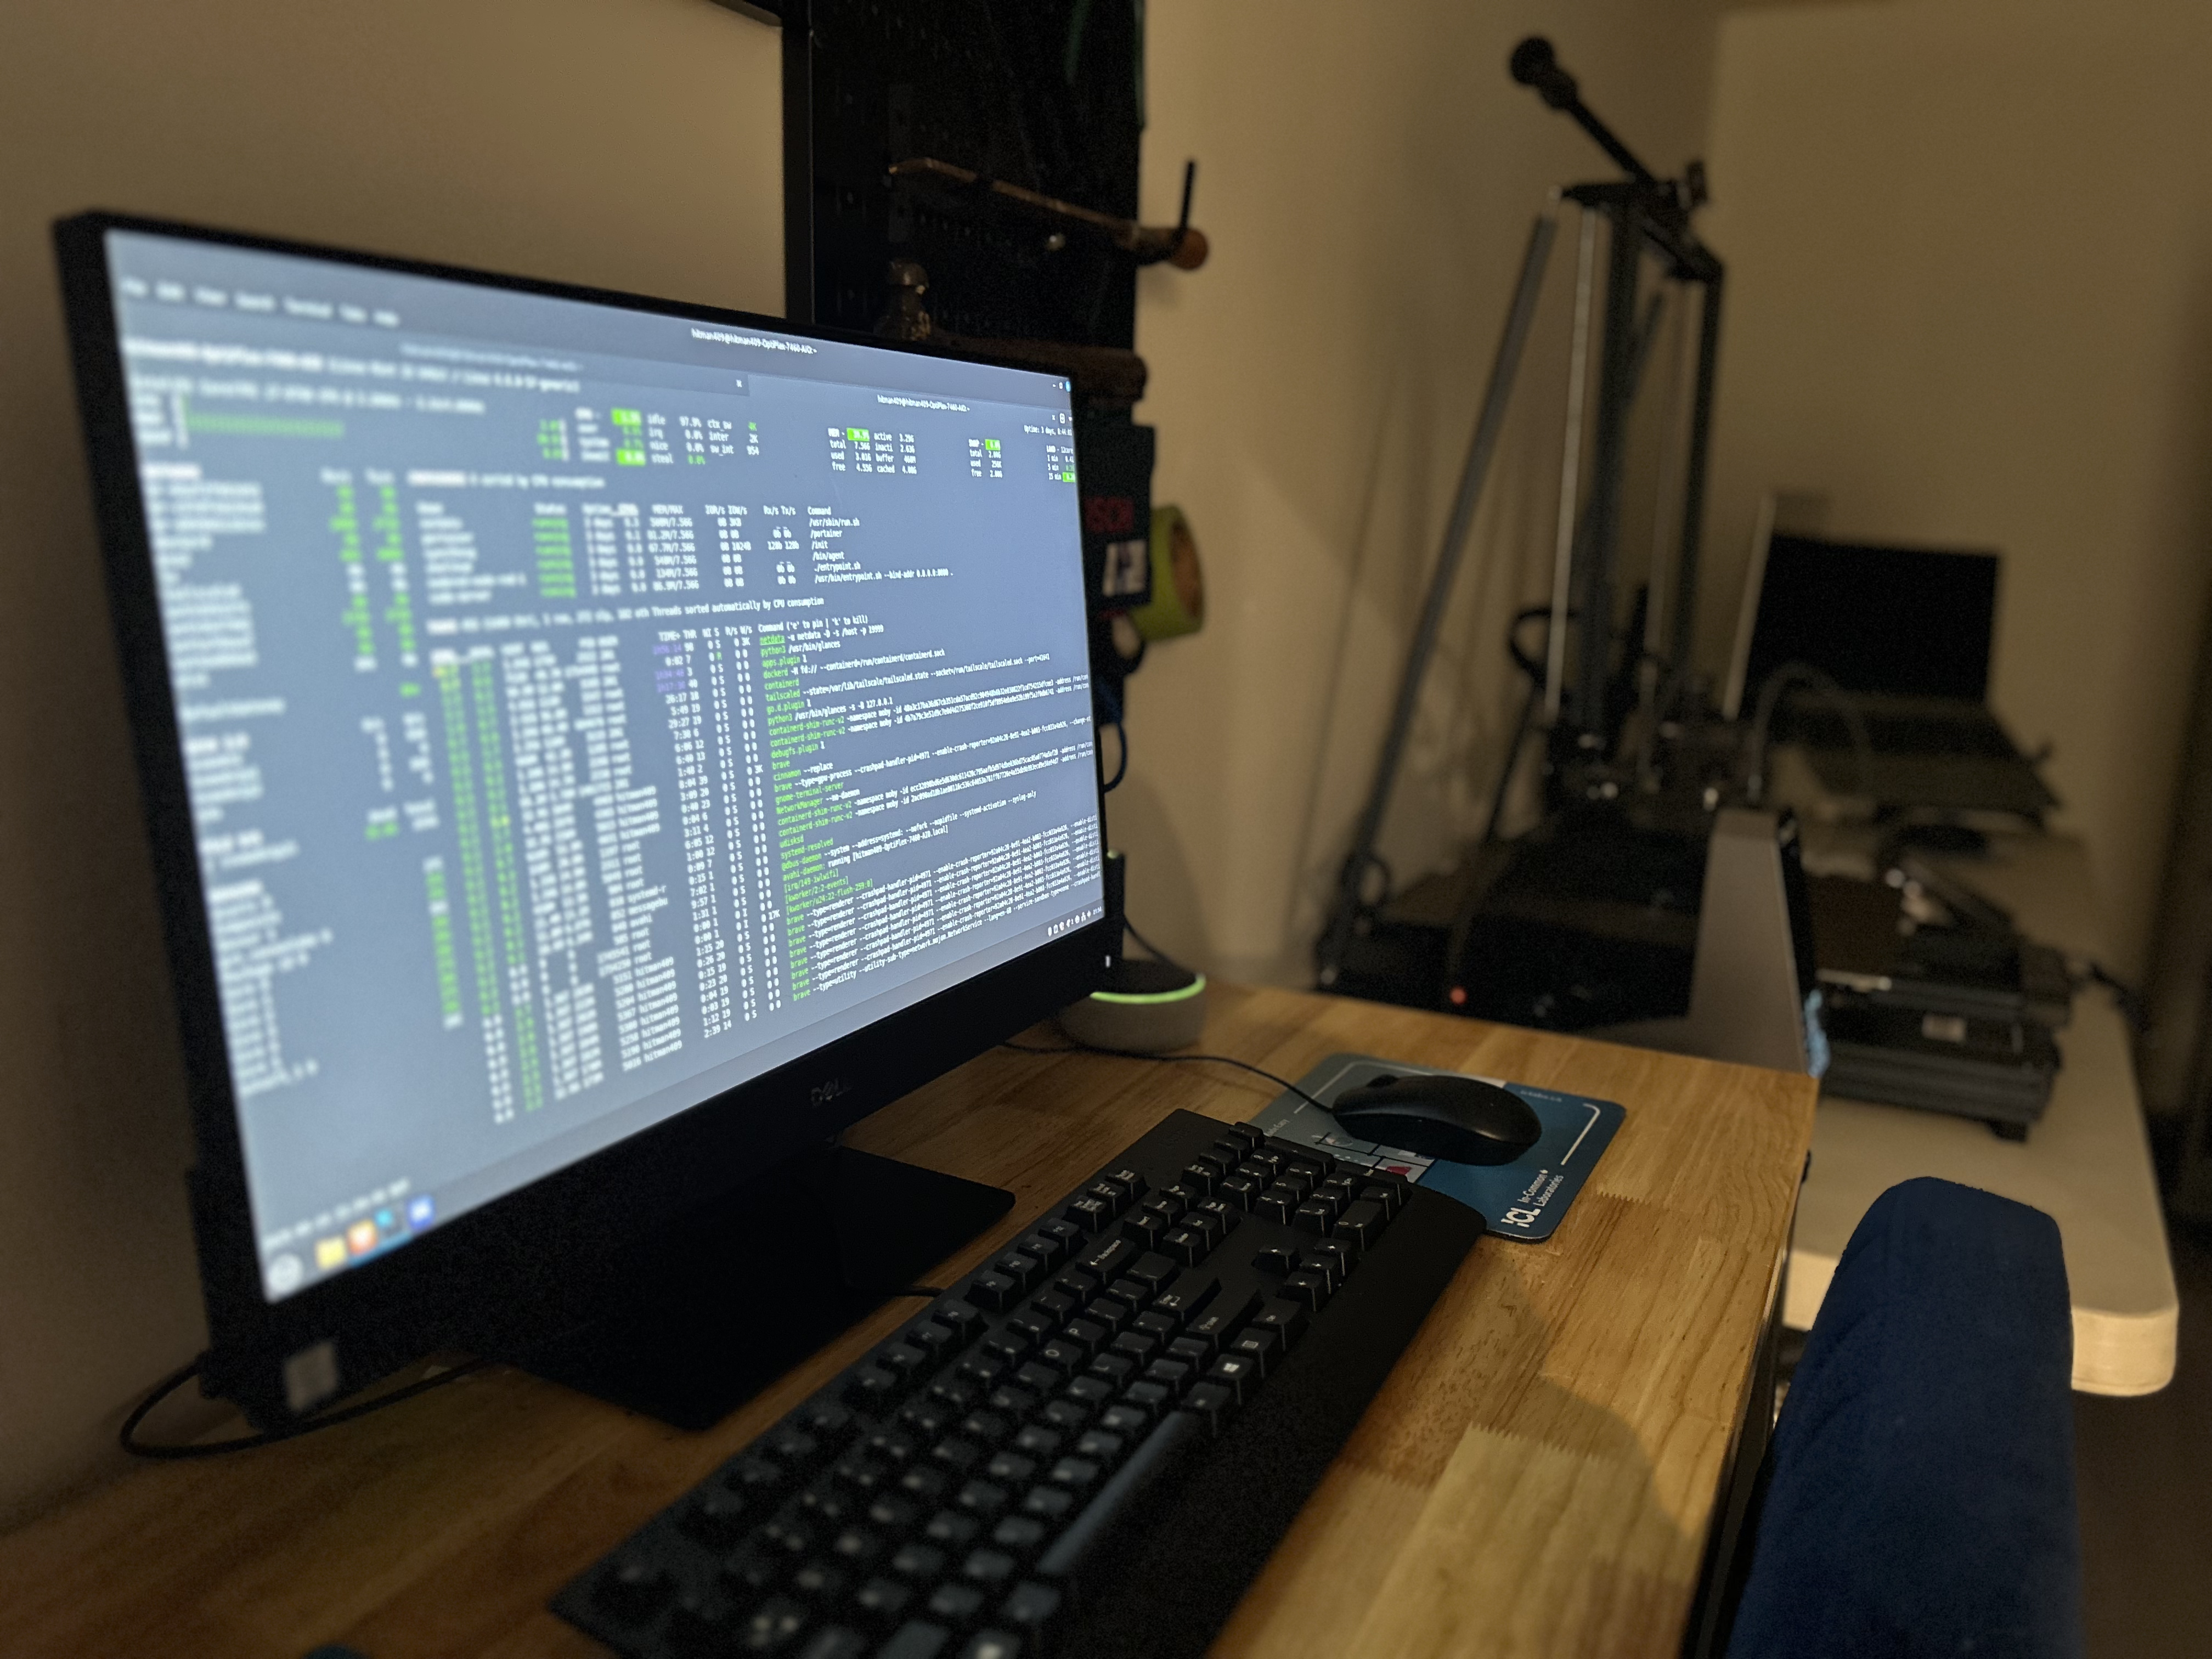
The Hardware
This is my dad’s old Optiplex 7460, which I claimed when he shut down his lab at a hospital in Toronto. It features:
- CPU: Intel i7-8700
- RAM: 8 GB DDR4 SODIMM
- Storage: 256 GB NVMe SSD (with expansion slots for additional SATA SSDs and RAM)
Despite its quirks (i.e, a streak of burnt-in purple pixels, a failing CMOS battery, and being incredible dusty) it still had plenty of compute power.
With a toothbrush, a can of air, and a replacement CMOS battery, I cleaned it up. Now, aside from the streak, it’s like new. Originally intended for slicing and prepping 3D models, I realized it could also serve as a low-power workstation/console for my homelab.
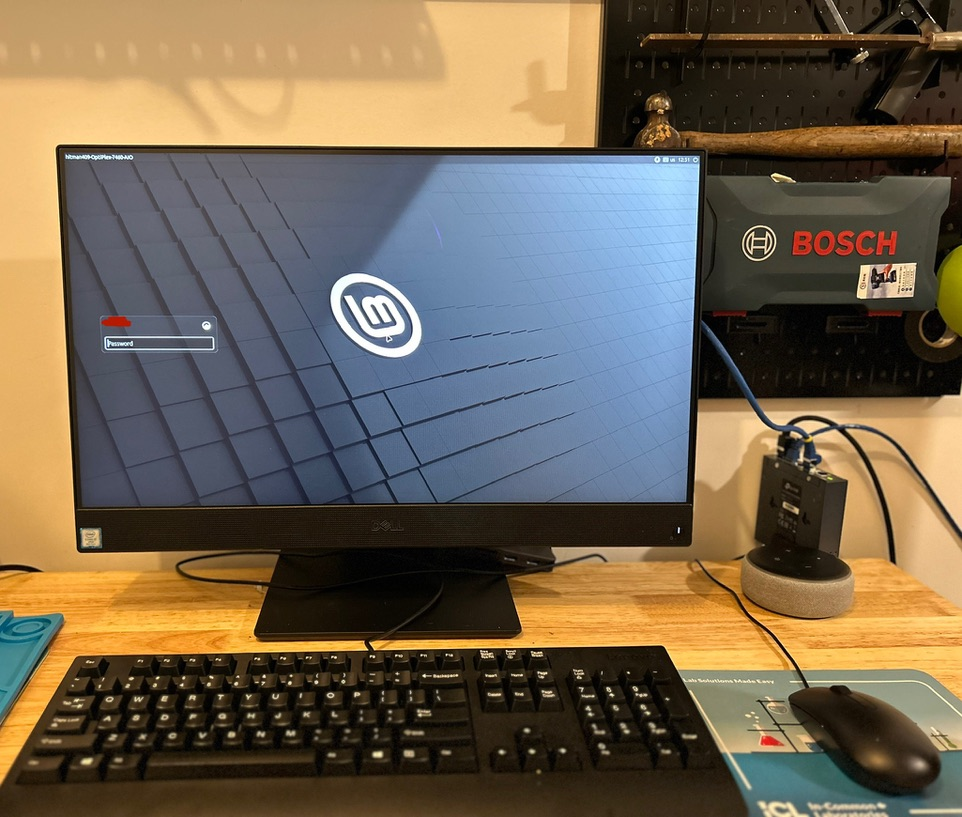
🖥️ Step 1: Install a Lightweight OS
I chose Linux Mint for its user-friendly interface, lightweight nature, and full feature set. Here’s how to get started:
- Download Linux Mint: Official Website
- Create a Bootable USB: Use tools like Rufus or Balena Etcher.
- Install Linux Mint: Follow the installation wizard.
- Optimize the System:
- Disable unnecessary services to save RAM.
- Update the system using
sudo apt update && sudo apt upgrade. - Install any additional drivers if needed.
- Consider uninstalling any pre-installed software you won’t use, like office tools or business apps.
🐳 Step 2: Set Up Docker & Portainer
Docker and Portainer make managing containers a breeze. Here’s how to set them up:
- Install Docker:
1
2
3
4
sudo apt update
sudo apt install docker.io
sudo systemctl enable docker
sudo systemctl start docker
- Install Portainer:
1
2
3
4
docker volume create portainer_data
docker run -d -p 9000:9000 --name=portainer --restart=always \
  -v /var/run/docker.sock:/var/run/docker.sock \
  -v portainer_data:/data portainer/portainer-ce
- Access Portainer: Open
http://<your-ip>:9000in your browser.
🛠️ Step 3: Build Your Console Toolkit
Here’s a list of recommended Docker containers to transform your machine into a multifunctional homelab console:
| Service | Image | Purpose |
|---|---|---|
| Code-Server | ghcr.io/coder/code-server | Web-based VSCode for scripting/admin |
| Shellhub | shellhubio/ssh:latest | Remote SSH from anywhere |
| Netdata | netdata/netdata | Remote system data monitoring |
| File Browser | filebrowser/filebrowser | Access homelab files over the web |
Bonus: If you’re exploring niche setups, consider adding a PiKVM, JetKVM, or serial-over-USB. Unfortunately, I couldn’t due to budget constraints.
🔗 Step 4: Connecting to Your Homelab
Here’s how you can use the E-console:
- Physical Console: Plug it into broken or offline servers as a screen/keyboard/mouse.
- Web-Based Tool: Use it to SSH into any node.
- Monitoring Station: Track uptime, load, and logs locally.
Tip: Consider creating a basic network diagram to visualize your setup.
🌍 Conclusion: Reduce Waste, Gain Tools
By repurposing an old device, you’ve saved it from contaminating an environment while re-using it as a good terminal!
If you’ve built something similar or have suggestions, feel free to share your builds or share this post. Let’s keep DIY alive!
Thanks for stopping by!
- ArandomHitman